

I’ve heard you should use catchy titles in order to draw the reader in, so if you’re reading this I’m thinking it must have worked. My last post was 99 days ago, not that anyone out there is counting. I’m thinking my 7 followers have not been sitting around wondering when I’ll finally follow up from my last renovation post. After all, I did promise to let you know about the shelf I made from the old chest turned vanity (post from June 10, 2019).
Well here you have it… chalk paint and all. Did I mention I make my own chalk paint? I have never purchased a can of chalk paint and enjoy being able to make it into any color I desire (from Sherwin Williams or matched to any color I like). Perhaps I’ll share how I make it in another post (I’m sure no one’s ever done that).
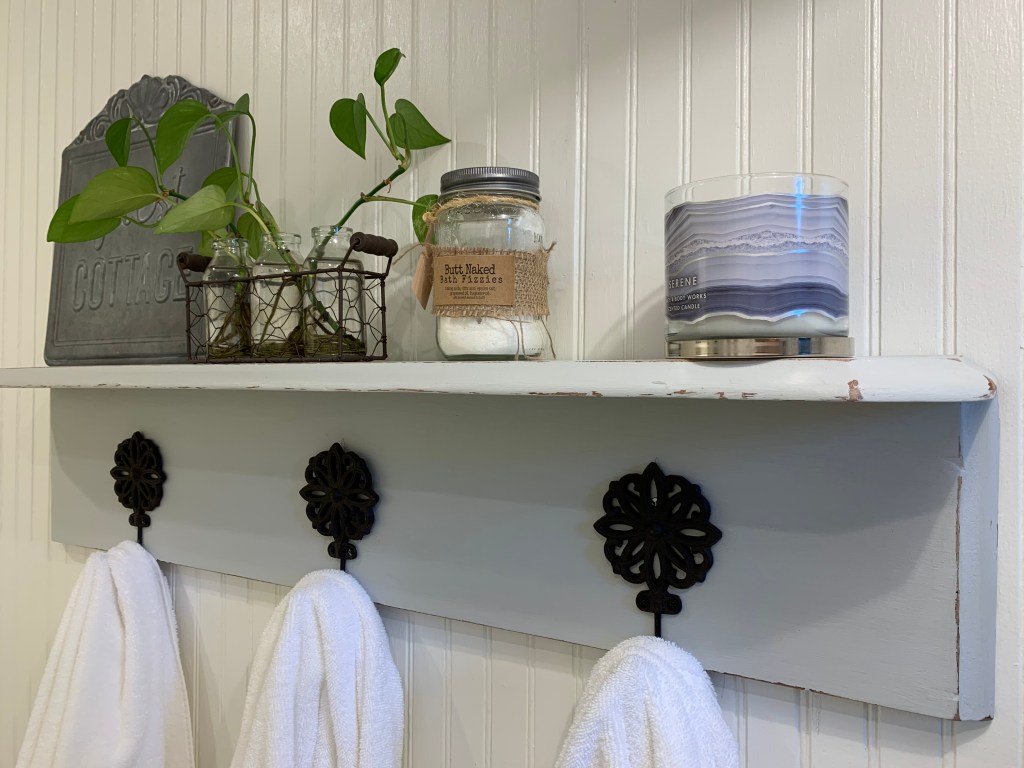
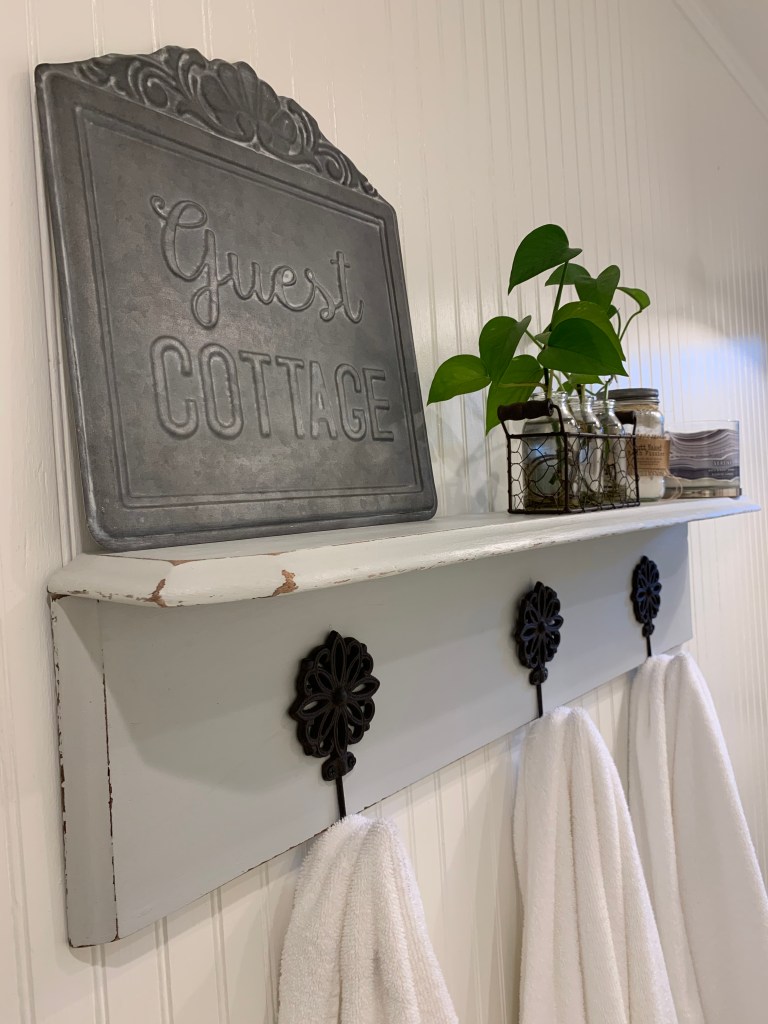
For this project I used two of the left over pieces of wood from the top of the old vanity (from my previous post). It took quite a while to loosen the top boards – but it was worth it. The front piece of wood with the beveled corners was used for the top part of the shelf. Each piece was painted separately and then screwed together after they were waxed and ready to hang. The wide piece of wood makes an excellent backing for the flower hooks I purchased from Hobby Lobby.

With the remodel of the bathroom, we tore down the door and partial wall between the vanity area and the tub/toilet area. The long wall made the perfect location for the shelf and easy access for the towels.
While our master bath was being remodeled I used this bathroom – a good way to know if your bath actually functions well. Again, thank you for taking the time to read my blog – feel free to share, follow, copy, pin, jump for joy, whatever floats your boat …

0 comments on “I Made It My Shelf…”